
DK
Connecting DK to Advise
Before You Begin

Before connecting your DK datasource, please make sure the following is in place:
- DK uses a separate service for web access called DK Plus.
- If you have DK but do not have access to DK Plus, you’ll need to add it to your DK subscription before continuing.
- To enable DK Plus, contact your accountant or email hjalp@dk.is.
Once DK Plus is active, you’re ready to continue.
Step-by-Step:
1. Log in to your DK plus account
In your browser, go to www.dkplus.is and log in to your DK Plus account.
2. Go to settings
From the popup menu below your user profile in the left-hand navigation bar, select “Stillingar”.
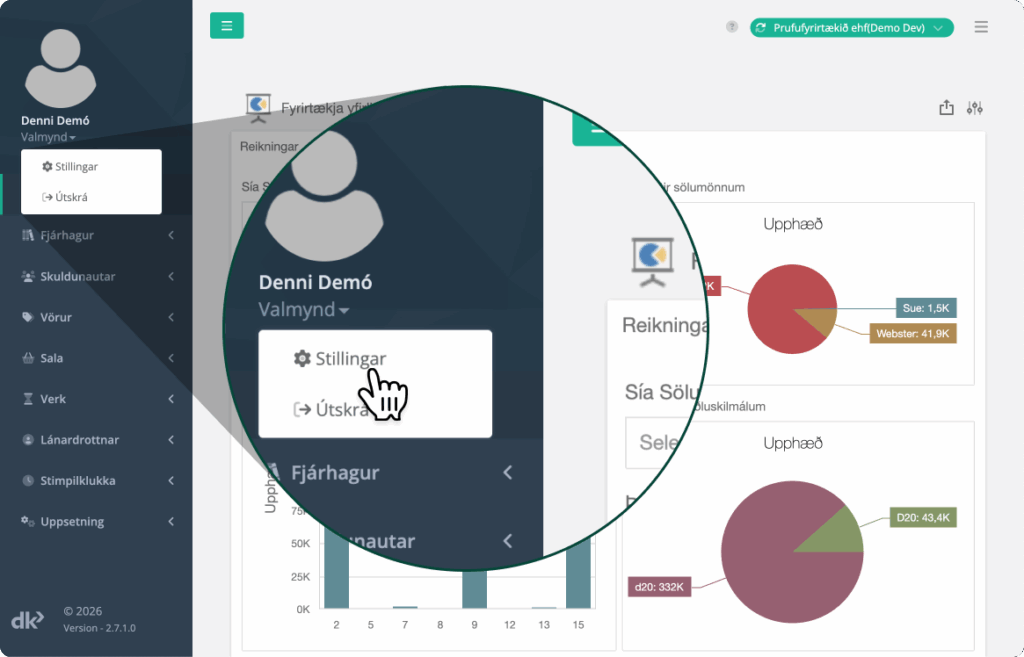
This will take you to the settings page.
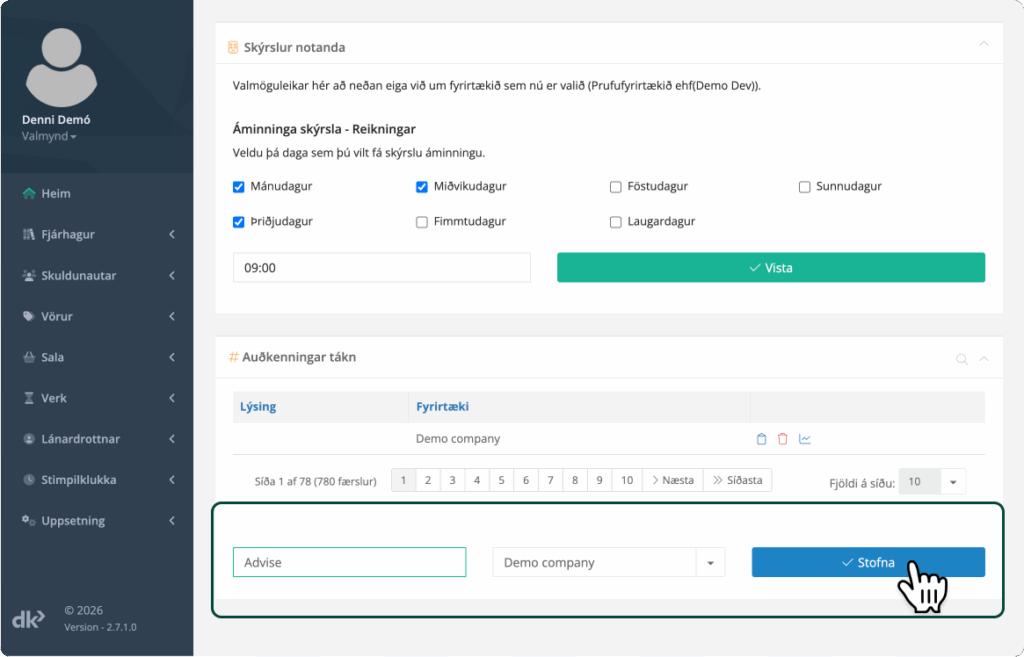
Locate the section labelled “Auðkenningatákn (e. access token)”.
• Click Create new token
• Name the token “Advise” (recommended for clarity)
• Select the correct company from the dropdown menu
• Click “Stofna (e. create)”
A new token will now appear in the token list above the form.
3. Copy the token
Find the “Advise” token in the token list and click the copy icon.
This will copy the token to your clipboard.
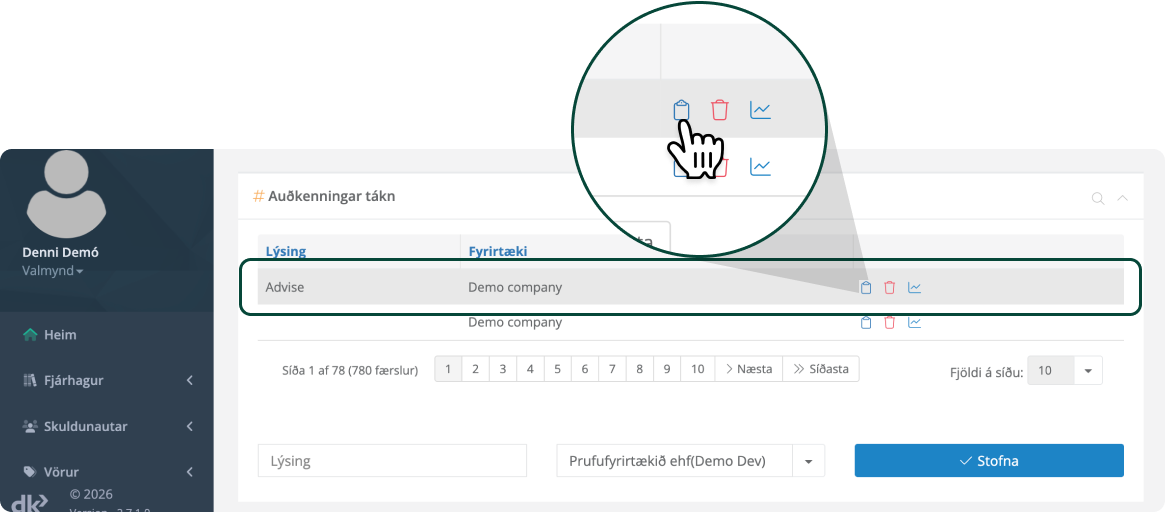
If the token is deleted or expires in DK Plus, data synchronisation will stop.
4. Paste the token into Advise
Return to your Advise account.
-
Go to Datasources
-
Add a DK datasource
-
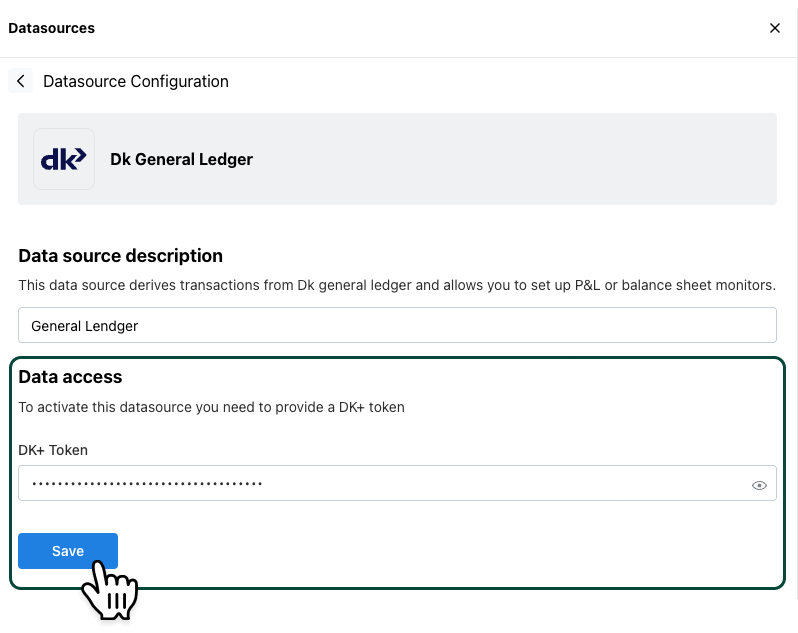
Paste the token into the DK Plus Token field
-
Complete the connection
All set!
You’ve successfully connected your DK data to Advise.
Your data is now ready to be synchronised, and you can start using Advise’s business monitors and reporting tools to gain clear, actionable insights into your business.